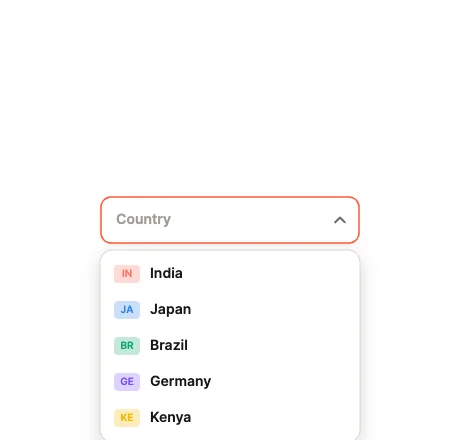
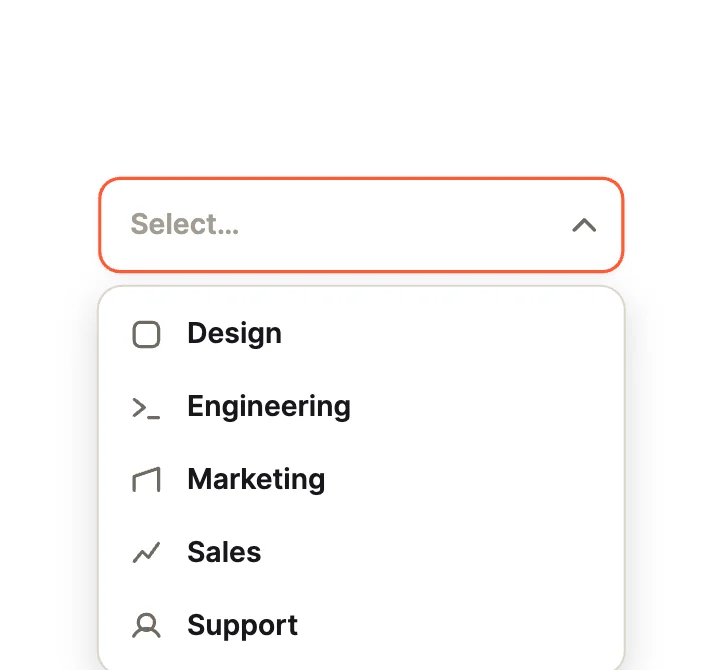
With IconsRich Items
How to use it
- Open it in ExodeUI
The button above puts this exact file in the editor, free. Or insert it yourself from Dropdown Studio in the Plugins menu.
- Make it yours
Change colours, type, motion curves and springs. It stays a native dropdown, so nothing turns into a flat picture.
- Export one file
Export .bexode (smallest) or .exode (readable JSON). The same file plays in every runtime.
- Wire it up
Your code sets and reads Selected, Selected index, Open and more. The code below uses its real names.
npm install exodeuiimport { useEffect } from 'react';
import { ExodeUICanvas, useExodeUI } from 'exodeui';
export function DdCountries() {
const { engine, setEngine, updateInput, fireTrigger } = useExodeUI();
useEffect(() => {
updateInput("Country · Selected", "Hello");
}, [engine]);
return (
<>
<ExodeUICanvas src="/dd-countries.bexode" onReady={setEngine} />
</>
);
}Featured in
More like this
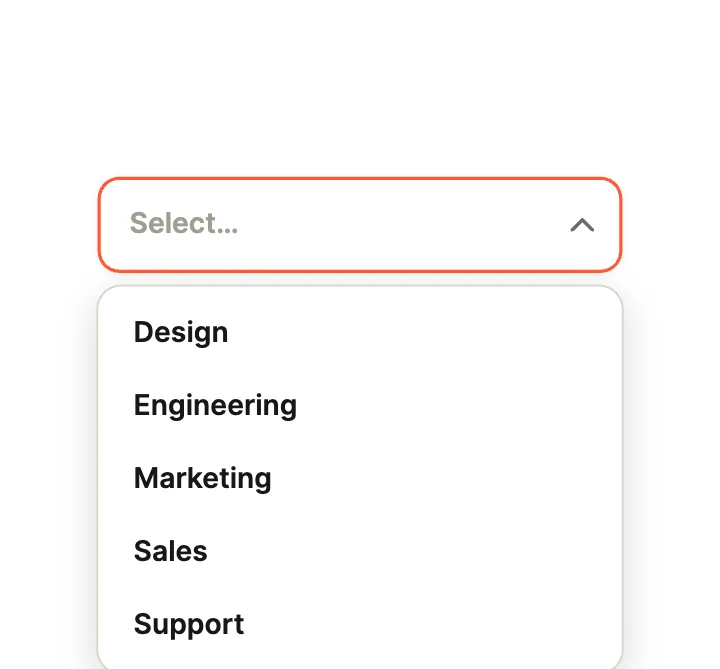
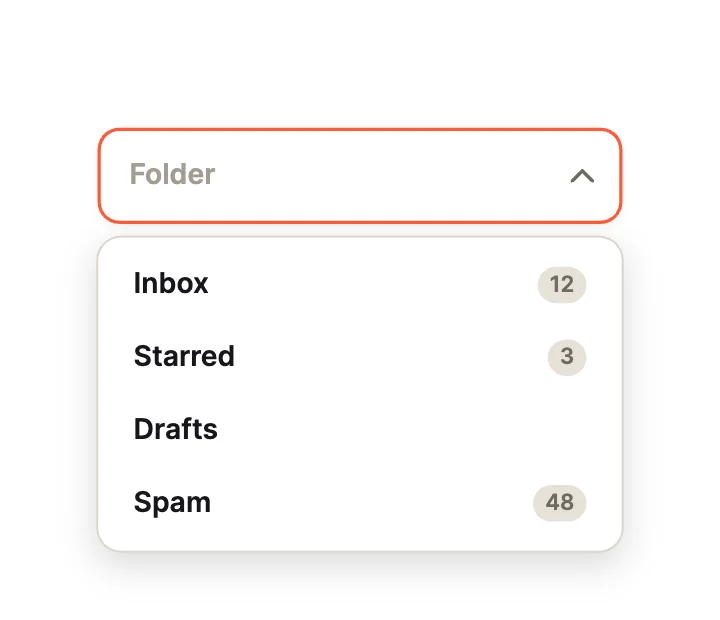
Questions
How do I add the Country dropdown to my app?
Open it in ExodeUI (free), export the .bexode file and play it with the ExodeUI runtime for your stack. The code tabs on this page use its real file and input names.
What can my code control?
Its state machine inputs: Selected (Text), Selected index (Number), Open (Boolean), Spring stiffness (Number), Spring damping (Number). Set them from your code and listen for changes.
Can I change how it looks or moves?
Yes. In the editor it is a native widget: colours, type, springs, timing and logic are all editable.
Make your own in ExodeUI
Free to start. Every studio behind this library is built into the editor, and everything it makes stays native and editable.
Try ExodeUI for free